Android Studio : Hello World example
Ok, I'm learning Android Studio now and below is a tutorial that I've put up on how to create a simple "Hello World" Android app in Android Studio.
Android Studio has a lot of features that ease your Android project development - such as drag and drop components, auto-complete, layout designer - all the way from coding to testing to deployment.
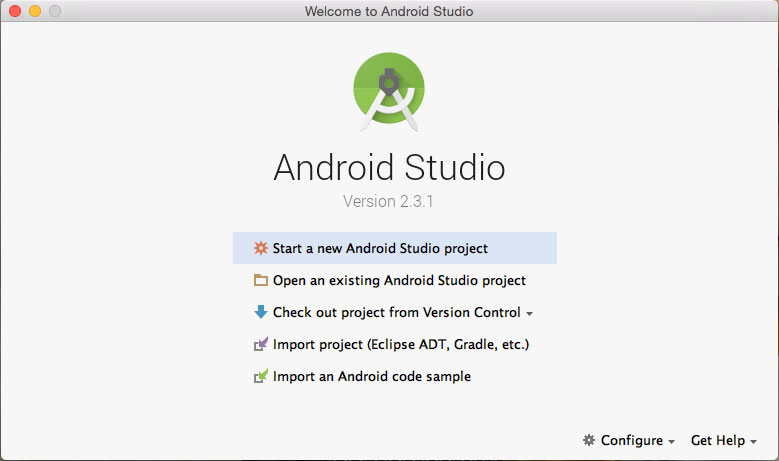
For starter, head over to https://developer.android.com/studio/index.html to download Android Studio for your computer, either for Linux, Windows or Mac OS X. After downloading and installing Android Studio, fire up Android Studio and click "Start a new Android Studio project":
Next configure your new project. We will just change the Application name to "Hello World". Don't worry about the company domain for now. It is auto generated.

At this stage, click on the "Android Auto" checkbox and click on the checkbox again to uncheck the box. This should set the Minimum SDK for our project. If the "Android Auto" checkbox is ticked, you can't proceed to the next step.

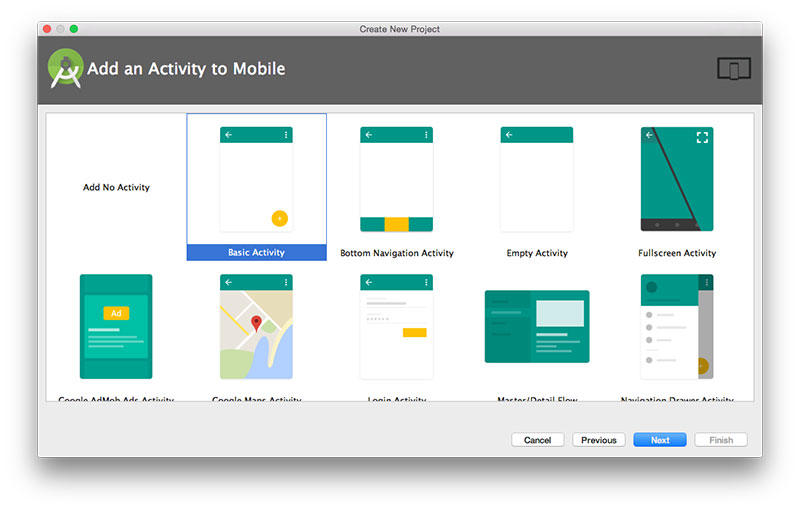
Select "Basic Activity" to generate the code for our "Hello World" project.
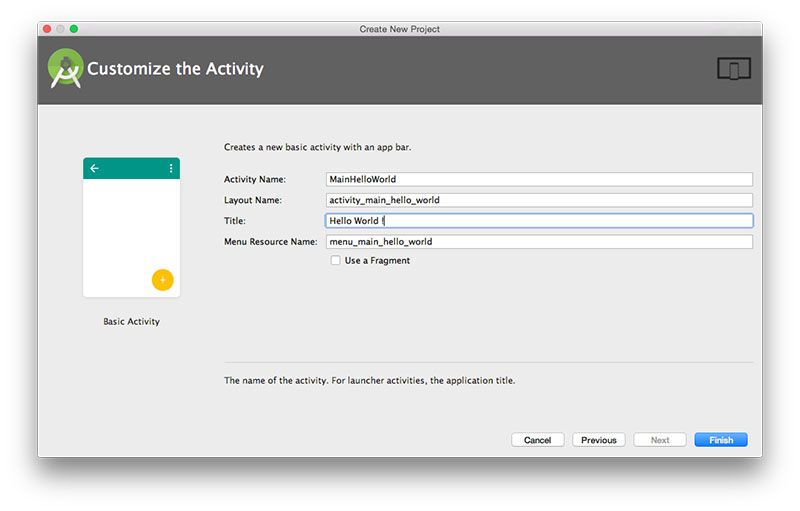
Just for fun, you can change the title to Hello World! If you prefer not to, then hit the "Finish" button to proceed.
By this stage, you should have a basic Android app that can be run on the emulator. However, let's do some simple modifications to get familiarize with the Android Studio tools.
Layout Designer
On position 1, dig down to layout folder and double-click on content_main_hello_world.xml file. You should see Layout designer such as below. On 2, let's modify the font size and alignment. Whatever modifications that you make will be reflected on 3

Coding
Let's explore how the designs are tied together. For now, let's not worry about what the Java codes suppose to do, but let's focus on a few interesting parts.

On position 1, dig down to the MainHelloWorld file and click on the file. Looking at the MainHelloWorld.java codes, pay attention to part 2 and 3 and see how the codes invoke the layout XML files from res folder to give the "Hello World" application its look-n-feel. In the code, R.layout.... the R stands for res or resources.
Build and Run app
Once you're satisfy with the design and codes, you can run your Hello World application on an emulator. Referring to the image below, hit the Run button on position 1:

Android Studio will fire up an emulator to run your "Hello World" application and if you haven't install an emulator yet. You will be prompted to download and install at least one AVD. NOTE:Android emulator is also known as AVD(Android Virtual Device)
Click "Create New Virtual Device" to start the process.

Once you've setup your AVD, click on the Run button again and you should see your simple "Hello World" application running.

Reference:
By Adam Ng
IF you gain some knowledge or the information here solved your programming problem. Please consider donating to the less fortunate or some charities that you like. Apart from donation, planting trees, volunteering or reducing your carbon footprint will be great too.
